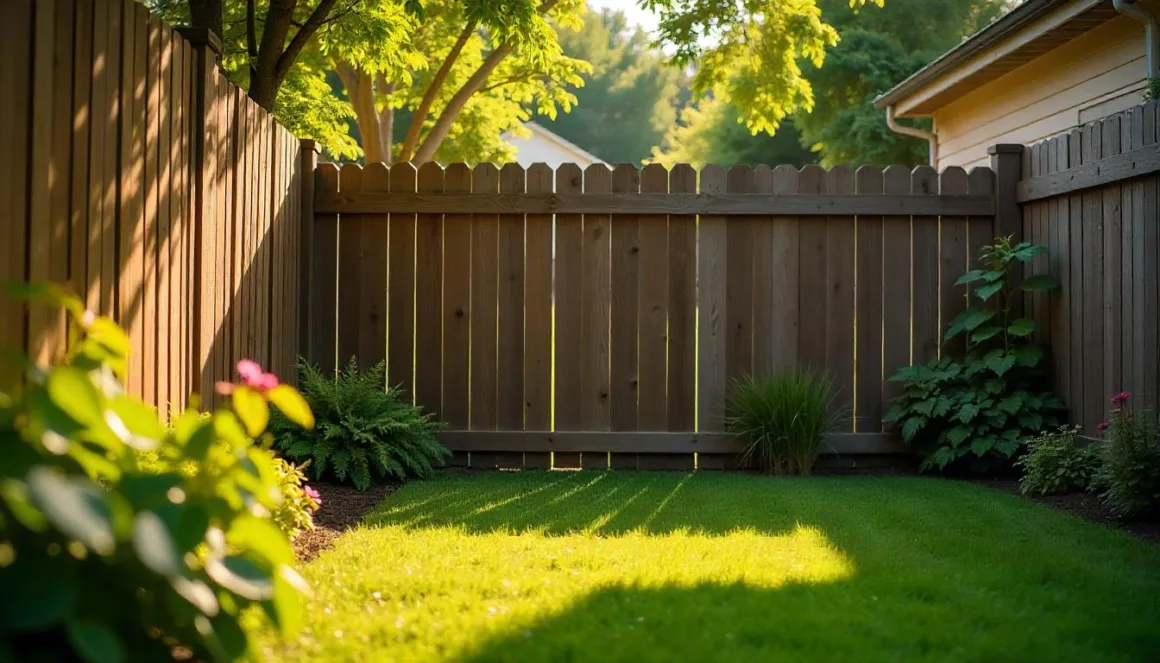
Your backyard is your kingdom. But without a fence, it’s a castle without walls. Are you keeping the dog in? Nosy neighbors out? Or just craving a little privacy? A wooden fence is your answer. But the thought of building one? It feels overwhelming. What if you could build a sturdy and beautiful wooden fence? In just one weekend? Yes, really.
Let’s break it down step-by-step. So that by Sunday evening, you’ll be sitting back. Admiring your work. And planning the next barbecue.
Step 1: Plan Like a Pro
Building a fence without a plan? It’s like trying to bake a cake without a recipe. It’s gonna be a mess. Figure out what you want your fence to do. Is it for privacy? To keep the dog from escaping? Or maybe just to make your yard look less boring?
Once you know your goal, decide on a design. Picket fences have charm. Privacy fences keep things out of sight. And modern slat fences scream style. Whatever you choose, make sure it matches your home’s vibe.
Moreover, check your local fence building codes. Most areas have rules about height and permits. While you’re at it, talk to your neighbors. Ask if the fence borders their property. A little courtesy goes a long way.
Related: Build Your Panels First to Make Fence Building Easier
Step 2: Gather Your Gear
Don’t think about hammering right away. First, make a list of what you need. No one wants to run to the hardware store several times a day.
Here’s Your Shopping List:
- Fence posts: Pressure-treated wood works best.
- Rails: The horizontal pieces that connect the posts.
- Pickets: The vertical boards that create the fence’s body.
- Concrete mix: For setting your posts.
- Gravel: To help with drainage.
- Screws or nails: Outdoor-rated, of course.
- Stain or paint: To protect your masterpiece from the elements.
Toolbox Must-Haves:
- Post hole digger (or an auger if you’re feeling fancy)
- Level (so your fence doesn’t look tipsy)
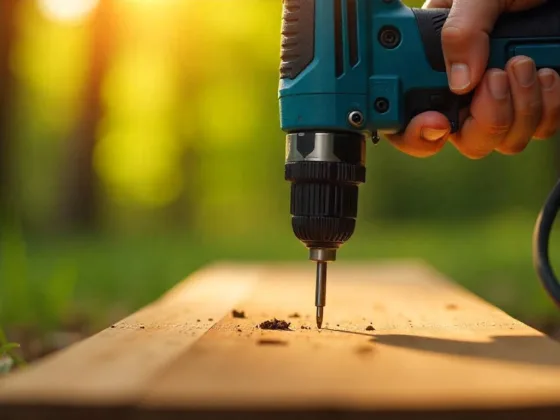
- Hammer or power drill
- Saw (a circular saw works wonders)
- Measuring tape
- String line and stakes
Step 3: Mark Your Territory
Now it’s time to stake your claim. Literally! Use stakes and string. Outline where your fence will go. This keeps everything straight. It also ensures you don’t accidentally build into your neighbor’s yard.
Measure twice—mark once. Space your fence posts 6 to 8 feet apart. This spacing gives your fence stability. Without overloading your budget on materials.
Step 4: Dig, Set, and Secure the Posts
Posts are the backbone of your fence. Are they wobbly? Your fence will be, too. Here’s how to make sure they’re rock-solid:
- Dig deep: Use a post-hole digger to create holes. At least 24 inches deep. This keeps your posts stable, even in bad weather.
- Gravel first: Pour a few inches of gravel into the bottom of each hole. This helps with drainage and prevents wood rot.
- Set the posts: Place your posts in the holes. Make sure they’re straight using a level. Plus, brace each post with temporary support.
- Pour concrete: Fill the holes with concrete mix. And let them set for several hours.
Pro tip: Don’t rush this step. Wobbly posts are a fence-builder’s nightmare.
Step 5: Add Horizontal Rails
Once your posts are standing tall, it’s time to connect them with rails. Think of these as the skeleton of your fence.
- Attach a top rail about 6 inches from the top of each post.
- Place a bottom rail about 6 inches above the ground.
- Add a middle rail if your design calls for it.
Use outdoor-rated screws or nails. And secure the rails. Make sure they’re level. Otherwise, your fence will look wonky.
Step 6: Attach the Pickets
Here comes the fun part: adding the pickets. This is where your fence begins to form.
- Start at one end. Work your way to the other.
- Check each picket with a level. Make sure they’re perfectly vertical.
- Keep a consistent gap between pickets—if your design includes spacing. A scrap piece of wood works great as a spacer.
Take your time with this step. A little patience now means a fence you’ll love for years.
Step 7: Finishing Touches
Your fence is up. But you’re not done yet. Add a few finishing touches. That will make it last longer and look better.
- Post caps: These protect the tops of your posts from water damage.
- Sanding: Smooth any rough edges. So you can avoid splinters.
- Stain or paint: Choose a weather-resistant finish. So it is protected and looks polished.
Why DIY? (Or Not!)
Building your fence isn’t about saving money. Though that’s a nice perk. It’s about creating something with your own two hands. And nothing beats the satisfaction of saying. “Yeah, I built that.”
But let’s be real! Not everyone has the time. Tools. Or the energy to tackle a project like this. And that’s okay! Is the thought of digging post holes or leveling rails have you breaking a sweat? Why not leave it to the pros? Visit now at sunsethawaiifencingcompany.com and consider your work done!
FAQs
You’ll need fence posts (pressure-treated wood works best), rails, pickets, concrete mix, gravel, outdoor-rated screws or nails, and stain or paint. Don’t forget essential tools like a post-hole digger, level, hammer or power drill, saw, measuring tape, string line, and stakes!
It’s recommended to dig your post holes at least 24 inches deep. This depth helps ensure your posts are stable, even in bad weather.
Space your fence posts 6 to 8 feet apart. This spacing provides stability for your fence without breaking the bank on materials.
Yes, it’s important to check your local fence building codes regarding height and permits. Also, it’s courteous to inform your neighbors about your plans, especially if the fence borders their property.
You can add post caps to protect the tops of your posts from water damage, sand any rough edges to avoid splinters, and apply a weather-resistant stain or paint for protection and aesthetics.
No worries! If the thought of building a fence feels overwhelming, consider hiring professionals. It’s perfectly fine to leave it to the experts, and you can enjoy a beautiful fence without the hassle of DIY.


