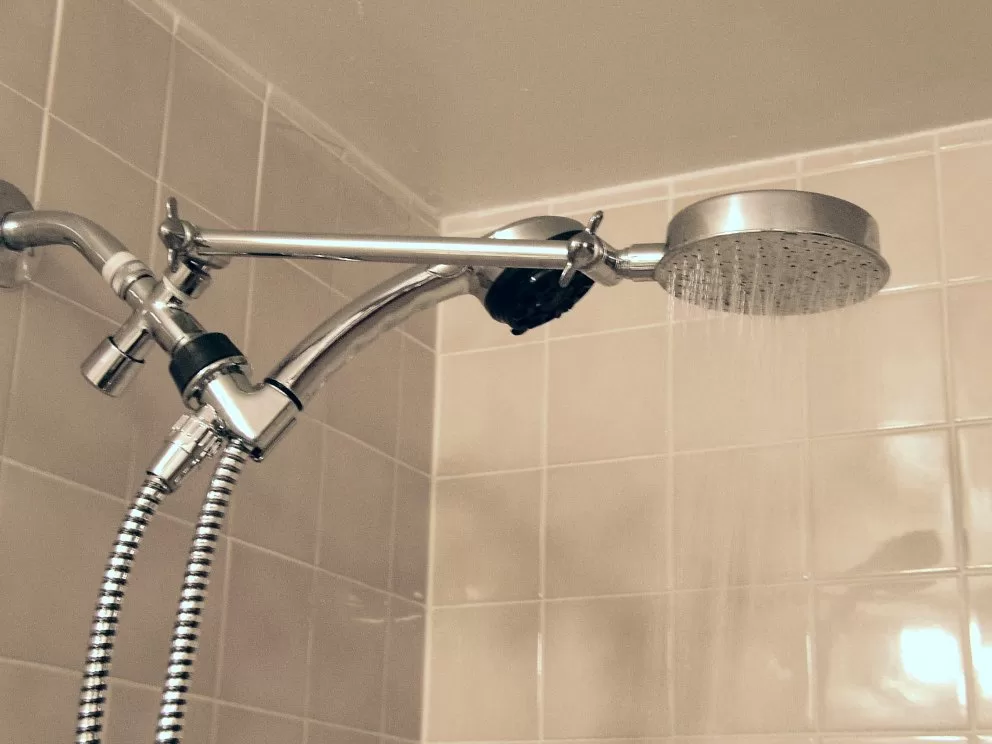
Imagine: trying to sleep when all you hear is the agitating, grating, “drip, drip, drip” from the shower, slowly leaking, seeming to want to torture you. It can be frustrating and expensive when your shower head leaks.

Not only does it create a mess in your bathroom, but it also wastes water, which can significantly increase your water bill. Beyond these issues, a leaky shower head can also lead to mould growth or damage to your bathroom tiles or fixtures as a virus spreads throughout the bathroom.
To start fixing the leak, it is critical to understand why it may be leaking. Several reasons a shower head might leak include loose connections, a worn or damaged washer, mineral buildup, a damaged shower head, or a faulty valve.
Each of these issues mentioned may require a different approach to fix, but fortunately, conducting this fix is a relatively straightforward process that anyone can do with basic DIY skills!
Read on to discover how to stop that annoying dripping and fix the leak!
Tighten the connections
The first step in fixing a leaking shower head is to check the connections between the shower arm and the head. Over time, these connections (i.e. where the shower arm meets the head and where the head meets the wall) can become loose and cause water to leak out of the shower head.
Wrap a wrench around the connection and turn it clockwise to tighten the connections. Make sure to avoid overtightening, as this can cause damage to the shower head or the arm. Try to tighten as much as possible without putting too much strain on the connection.
Check the washer
No, not the laundry washer— the shower washer. The washer is a small rubber piece located inside the shower head that helps create a seal between the head and the arm. A worn or damaged washer can cause a shower head to leak.
Read Also :
If the washer is damaged or worn, it may not be able to create a proper seal, causing the issue you have at hand. To check the washer, remove the shower head from the arm and inspect the washer inside. If it appears worn or damaged, replace it with a new one you can get at your local hardware store. You can also contact a plumber for further assistance.
Clean the showerhead
This one feels counterintuitive— after all, you don’t want your shower to run more uninterrupted. Over time, though, mineral deposits and other debris can accumulate inside the shower head, causing it to leak, which may very well be the source of your problems.
To clean the shower head, remove it from the arm and soak it in vinegar and water for a few hours. This will help dissolve any mineral deposits and clean the inside of the shower head. After soaking, rinse the shower head with clean water and reattach it to the arm. Bam! Good as new.
Replace the O-ring
Yes, it has a weird name, but it is important. The O-ring is a small rubber ring that helps create a seal between the shower head and the arm. If the O-ring is not working to the standard it should be, it can cause water to leak out of the shower head.
Remove the shower head from the arm to check the O-ring and inspect the ring around the head’s base. If you notice that the ring does not look like it is functioning well or has severe rust, it is time to purchase a new one to replace it. Ensure that you find the right model for your shower head, though!
Replace the showerhead
If all the connections and washers are tight and the shower head has been cleaned, but the drip still drives you crazy, it may be time to throw in the towel and replace the shower head. Over time, shower heads can become worn or damaged, causing them to leak— simply the lifecycle of a shower head.
To replace it, remove the old one from the arm and replace it with a new one. Again, they are available at any local hardware store. Make sure to choose a showerhead compatible with your existing plumbing system!
Check for corrosion
It is crucial to keep the shower arm free from damage and corrosion to prevent leaks from the shower head. Acting as a vital link between your home’s plumbing and the shower head, the shower arm channels water seamlessly. However, a deteriorated or damaged shower arm can threaten this connection’s stability, causing unwanted leaks and water infiltration.
Consistently examining the shower arm for wear indications, such as fractures, splits, or decay, becomes crucial. Particles in the water supply or extended contact with water can cause corrosion. Addressing any traces of fungus or corrosion surface quickly is key.
In certain instances, replacing the impaired or corroded shower arm entirely may be the only way to guarantee a secure, leak-proof connection. By diligently preserving your shower arm, you protect your plumbing system. It dreads the likelihood of water damage and the monetary burden of expensive repairs.
Should you spot any signs of damage or corrosion on your shower arm, consult a qualified plumber for a thorough evaluation and restoration.
These specialists can impart valuable advice while performing essential repairs or replacements needed for optimal shower arm performance. Proactively maintaining your shower arm’s integrity safeguards your shower system’s overall functionality and effectiveness.
Check the valve
If, after all of our suggestions above, none have fixed the problem, this may indicate that the issue may be with the valve. The valve controls water flow to the shower head; if it is damaged, it can cause the head to leak water.
In this case, it is best to contact a professional plumber to diagnose and fix the problem. They can assess the valve and determine whether it needs to be repaired or replaced. Unfortunately, this is one scenario where your handy DIY skills may not be enough. As such, if all else fails, call a professional.


